A healthier chocolate snack treat.
It’s that time of year again when I’m making healthy snacks for the kids to take to school. Right now, my kids love anything Milo-flavoured. This is why I sought out a recipe to make these milo bliss balls. Read on if you would like to know more about Milo.
What is Milo?

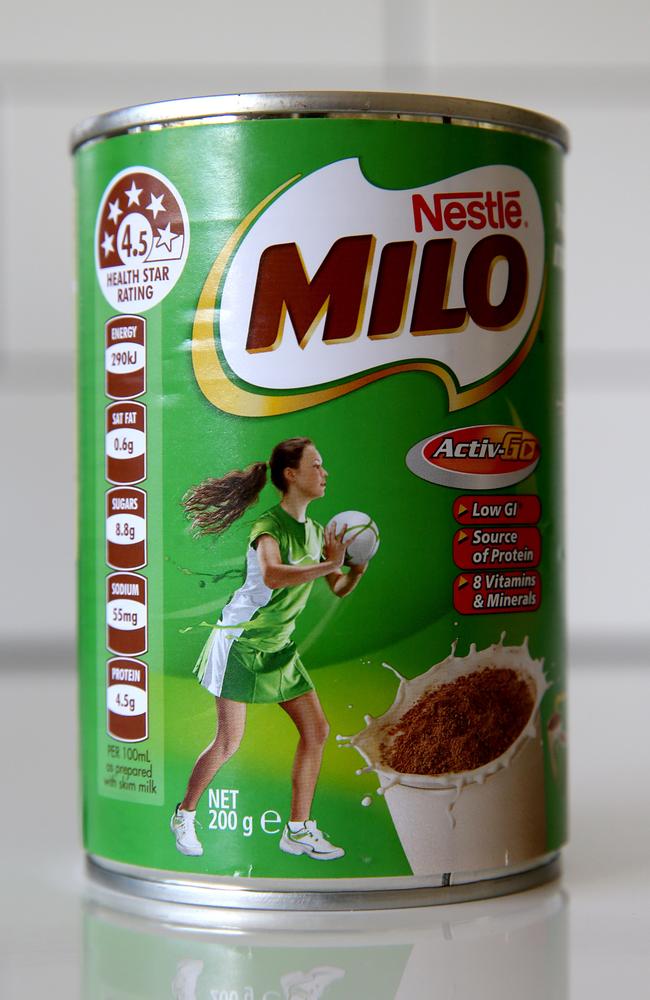
Milo is a chocolate malt powder first invented in 1934 by the food giant, Nestlé. It’s popular powder drink in Australia and New Zealand embraced by many households as a pantry staple. The powder is a blend of malted barley, sugar, cocoa powder, and milk powder. I worked at Nestlé for many years and can say that the product differs in taste slightly between the two countries. Milo in Australia has a more malty flavour. Milo in New Zealand has a more chocolate flavour. Both are mixed with milk or water to create a sweet, chocolatey beverage that’s popular among children and adults alike.

Milo bliss balls are delicious. Maybe I’m a little biased as I do love the taste of Milo. The chocolate flavour of these Milo bliss balls has a subtle malt taste from the Milo powder. That’s why this recipe makes a healthier bite-sized snack treat that the whole family will enjoy. They’re super easy to make and require no baking. This makes them a great option for a quick and satisfying snack on the go. Once made, you can store them in the fridge making it easy to pop one of these instead of reaching for chocolate or a biscuit.
Making them is easy. Simply combine the ingredients in a food processor until they form a sticky dough. Then you form the bliss balls by rolling the dough into balls. Finally, you need to toss the balls in a little extra Milo so they don’t stick together. Chill until firm and store in the fridge. You can get the kids helping to make this too!

What are bliss balls?
Great question. I’m sure you have heard them by many other names. Protein balls, energy bites or power balls are common alternatives. They all use a mix of various wholefood ingredients blended together and rolled into snack-sized bites.
These bliss balls are a great source of energy and nutrition. These contain protein, fibre, healthy fats, and other essential nutrients. This makes them a great snack for anyone seeking a healthier pick-me-up during the day.
Overall, Milo bliss balls are a delicious and nutritious snack. Like most bliss balls, they’re easy to make in only a few steps. These are a perfect addition to school lunchboxes or to have in the fridge to satisfy sugar cravings.
Want another delicious recipe?
If you like this recipe, you’ll also love others available here. From pastas to risottos, cookies to desserts, and bliss balls to gluten-free options with everything in between. There is truly something here for everyone. I have developed this website to provide family-friendly recipes where I maximise both fresh produce while minimising cost.

Milo Bliss Balls
Ingredients
- ½ cup desiccated coconut
- ½ cup rolled oats
- ¼ cup sesame seeds
- 400 g medjool dates, pitted
- ½ cup Milo, plus ¼ cup extra to coat
- 1 tablespoon water, if required
Instructions
- Place the coconut in a small frying pan over medium heat. Cook, stirring occasionally, for 2 minutes or until lightly toasted. Transfer to a plate and set aside to cool.
- Wipe the frying pan clean. Add the oats and sesame seeds. Cook, stirring occasionally, for 2 minutes or until toasted. Transfer to a food processor. Set aside to cool slightly before processing until coarse crumbs form.
- Add the dates and Milo to the food processor and process until well combined. If the mixture is still crumbly and not combining together, add a few drops of water at a time. The mixture needs to be sticky to hold together without being too wet.
- Roll 1 tablespoon of mixture into a ball. Repeat with the remaining mixture. Spread the extra Milo on a bowl. Roll the balls into the Milo to coat.
- Store in an airtight container in the fridge for up to 2 weeks.
Notes
- If you don't have Milo where you live, substitute it with cocoa powder. If you do, only use half the amount needed (eg. ½ a cup of Milo is ¼ cup cocoa powder).
- Customise these by adding different ingredients like cranberries, raisins, or nuts. You can also coat them in cocoa powder or coconut flakes instead of Milo powder.
